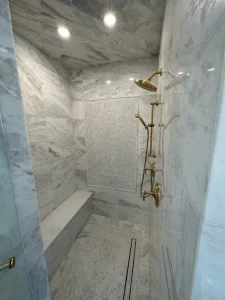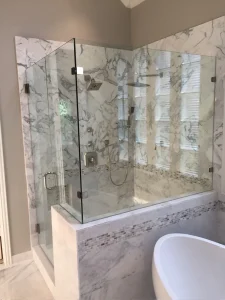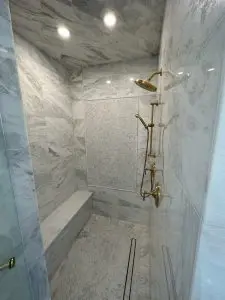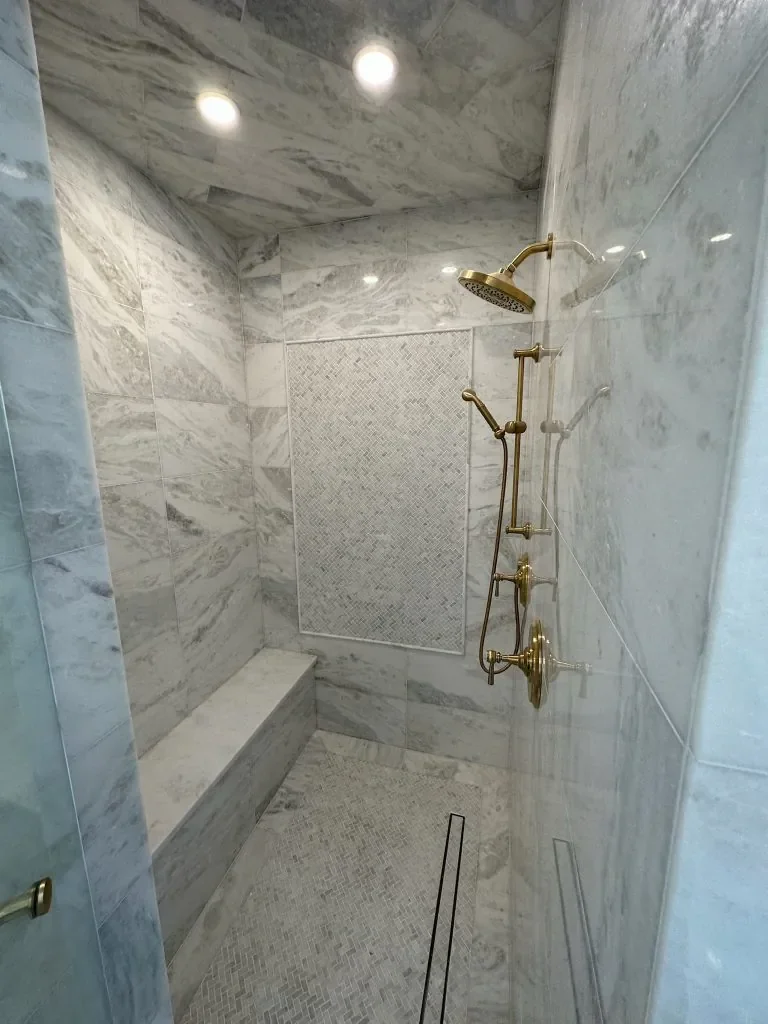

The most useful question before a tub-to-shower conversion is often, “What will happen in my home once the work starts?” A finished shower photograph shows the result. It does not show how the bathroom is protected, when hidden conditions are reviewed or why the shower cannot always be used as soon as the tile looks finished.
This guide focuses on the construction sequence and homeowner checkpoints. For decisions about whether to convert your tub, entry styles and waterproofing planning, start with our existing Plano tub-to-shower guide.
1. Confirm the scope and access plan
Before demolition, make sure the written scope identifies what stays, what is removed and what will be replaced. Confirm the selected fixtures, tile, shower storage, entry arrangement and glass configuration. An unresolved selection can affect more than appearance if another trade needs its dimensions.
Agree on the work route through the house, protection for nearby surfaces, material storage, debris removal and access to utilities. If this is the household’s only bathing area, discuss an alternative before construction starts. Do not assume the room will remain usable during the conversion.
2. Remove the tub and inspect exposed conditions
Removing the old tub and surrounding finishes exposes parts of the assembly that were previously hidden. The team can then assess the condition of framing, the substrate and accessible plumbing within the project area.
Ask how unexpected findings will be documented. A useful change discussion explains what was found, why it matters, the proposed response and any effect on cost or schedule. Agree on the approval process before additional work proceeds rather than relying on a vague allowance for “anything behind the wall.”
3. Complete the work that belongs behind the finishes
Drain, supply and control changes need to align with the chosen layout. Planned niches, benches, enclosure support and other details may also require preparation before the walls are closed.
The exact scope determines which trades and inspections are involved. Check the City of Plano’s residential permit resources and have the applicable requirements confirmed for your home. The schedule should accommodate required checkpoints rather than assume every conversion follows an identical sequence.
4. Prepare and verify the shower assembly
The shower base, drain connections, wall preparation and waterproofing must be coordinated as a system. Ask which products are being used and how their installation requirements are being followed.
Testing and curing requirements depend on the assembly and applicable inspection process. For example, Schluter describes a water test before tile installation as a way to check for leaks. That product-specific guidance is not a claim that every HPS shower uses Schluter or follows one universal timetable.
A helpful homeowner checkpoint is simple: what must be inspected, tested or documented before the tile conceals this stage?
5. Install tile, fixtures and the enclosure
Once the assembly is ready, the visible finishes take shape. Tile layout, edges, transitions and alignment around niches or benches should reflect the approved design. Fixtures and glass then need to work with the completed surfaces.
Custom glass may require final field measurements after relevant finishes are complete. Confirm that sequence with the installer. Ordering a custom enclosure and having it fabricated is different from installing a stocked unit, so avoid assuming the glass will arrive on the same day as the tile.
6. Allow the specified time before using the shower
A shower can look finished before all installed materials are ready for service. Ask for a clear first-use instruction based on the sealants, grout and other products actually installed.
Do not use a general internet drying-time estimate in place of that instruction. Product requirements and site conditions can differ. The handoff should also explain suitable cleaning products and how to care for the glass and hardware.
7. Walk through the completed work together
At the walkthrough, review the controls, spray settings, drainage, glass movement, visible finish details and agreed scope. Record any remaining adjustments and who will handle them. Keep the care information, product details and relevant project documents in one place.
How long will the conversion take?
There is no reliable universal duration without reviewing the home. Existing conditions, plumbing changes, inspections, material availability, custom glass and product curing requirements can all affect the sequence. Request a project-specific schedule that identifies these dependencies and explains how changes will be communicated.
Prepare for your Plano shower remodel
Use our remodeling project planner to record your priorities. Home Platinum Services can review your existing bathroom and discuss the scope through our Plano bathroom remodeling service.
Schedule an in-home consultation or call 972-863-2117 to plan the next step.